
Hi everyone,
I love Sunflowers and Elizabeth Craft Designs came out with a beautiful stamp set from the Beautiful Blooms Collection called Sunshine. Below you will find the steps to create your own card.

Step 1 - Trim White Soft Finish Cardstock to 7” x 6”, score at 3 1/2” and fold in half for a vertical side fold card (Mini Slimline)
Step 2 - Trim White Soft Finish Cardstock to 3 1/2” x 6”. Diecut Floral Burst Background using scrap piece of cardstock. Place the diecut on the panel to use as a stencil and apply any ink of your choice using a Blender Brush. I used Dried Marigold and Spiced Marmalade. Since the diecut doesn’t fill the entire panel I flipped it and found the repeat pattern and continued to fill the panel. Trim the edges 1/8” each side and adhere to card front using Foam Tape.
Step 3 - Stamp Sunshine image using Gina K Amalgam Ink on White Soft Finish Cardstock. Color in with any color medium of your choice. I used Prismacolor Premier Pencils and using Gamsol to blend. I will have a video on YouTube soon on a technique I tried to make blending with Gamsol easier so stay tuned. Diecut the image with the matching die and adhere to card using Kids Choice.
Step 4 - Stamp Sunshine sentiment using Versafine Onyx Black Ink on White Soft Finish Cardstock. Diecut with matching die and adhere to card using Kids Choice.
Step 5 - For added interest and sparkle randomly adhere Sequins using a Pick Up tool and Kids Choice Glue.


This card can be used for any occasion by simply changing the sentiment. Below is a link to all the products used. Thank you for stopping by and Happy Crafting!
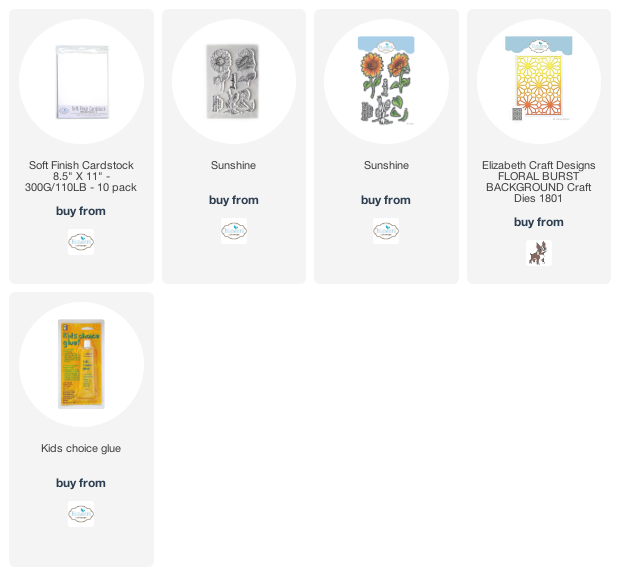
Products Used:
No comments:
Post a Comment