Hi everyone,
Can you believe the holidays is days away? I can’t. I have another holiday card to share with you. I used some new and older product from Elizabeth Craft Designs. Below is the steps to create your own card.
Step 1 - Trim White Soft Finish Cardstock to 7” x 6”, score at 3 1/2” and fold in half for a horizontal side fold card. (Mini Slimline)
Step 2 - Trim White Soft Finish Cardstock to 3 1/2” x 6”. Apply Inks of your choice using a Blender Brush, starting lightest at the bottom and working to darkest at the top. I used Pawsitively Saturated Inks in Seafoam, Surf and Ocean. Adhere to card using Bearly Art Precision Glue.
Step 3 - Diecut Holiday Train using Red, White and Gold Glitter Cardstock. Assemble using Kids Choice Glue and adhere to card using Foam Tape.
Step 4 - Diecut Train Carts using Red, White and Gold Glitter Cardstock. Assemble using Kids Choice Glue and adhere to card using Foam Tape.
Step 5 - Diecut Penguin using White, Black and Orange Cardstock. Assemble using Kids Choice Glue and adhere to card using Foam Tape in back of the Train Cart.
Step 6 - Diecut Santa Claus (hat) in White and Red Cardstock. Assemble and adhere to Penguin using Kids Choice Glue.
Step 7 - Stamp Classic Christmas Special Stamp Set using Versafine onto Teal Cardstock. Diecut sentiment with Fitted Fishtails. To get the fishtails on both sides diecut regular first pass then flip the die and diecut a second time. Adhere to card using Foam Tape.
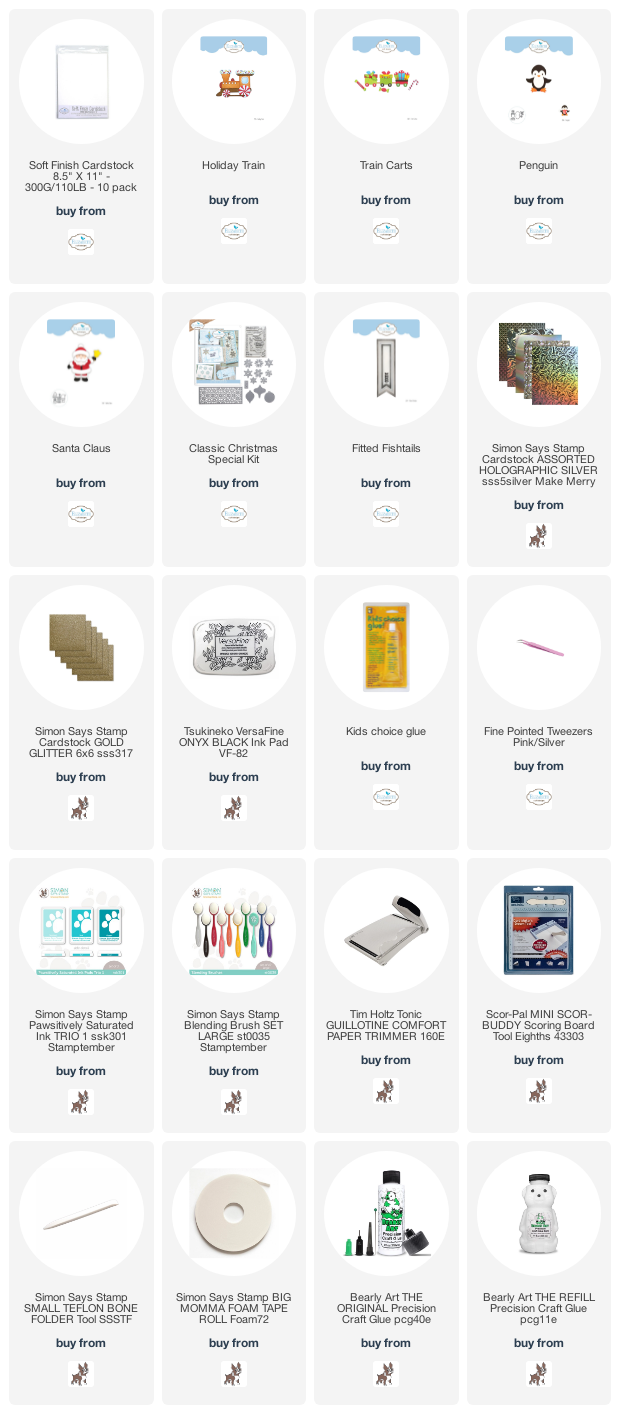
Although the Holiday Train dieset has details for the holidays it can easily be used all year round. Below is a link to all the products used. Thank you for stopping by and Happy Crafting!
Products Used:


No comments:
Post a Comment