
Today is exciting news! Elizabeth Craft Designs has a new release from Susan's Garden. To see the Focus Blog Post go here. Susan's Garden dies makes the most realistic looking flowers. They are easy to make and Susan has plenty of YouTube videos to help you out. I have been asked on social media if I can do some videos showing how to create and assemble Garden Notes flowers. I am happy to say that I will be making some videos so keep an eye out. My card for today's Focus is using the new Shasta Daisy and Baby's Breath dies. Below are the easy steps to replicate this card.
Finished card measures 4 1/4" x 5 1/2" folded (A2)

- Step 1 - Trim White Soft Finish Cardstock to 8 1/2" x 5 1/2", score at 4 1/4", fold in half for a vertical side fold card (A2).
- Step 2 - Trim White Soft Finish Cardstock to 3 1/2" x 4 3/4". Apply Distress Oxide Inks Squeezed Lemonade and Wild Honey onto a craft mat, spray the inks with water. Dip White Soft Finish Cardstock into the ink, dry with a heat tool. Repeat this step until desired effect is achieved. Once the background is completely dry adhere to center front of card using 3mm Clear Double Sided Adhesive Tape.
- Step 3 - Create a frame - Diecut Stitched Rectangles with a smaller size Fitted Rectangles using White Soft Finish Cardstock. Adhere to card using foam tape.
- Step 4 - Apply Distress Ink Mowed Lawn directly on a scrap piece of White Soft Finish Cardstock using a mini blending tool. Spray water on a craft mat and place the inked cardstock on top of the water. Let dry.
- Step 5 - Diecut Baby's Breath Mowed Lawn Inked Cardstock created for the stems and White Soft Finish Cardstock for the Baby's Breath Flowers. Using a green alcohol marker color in a small dot to the center of the flower. Shape and assemble the flowers using Susan's Garden Flower Making Set and Kid's Choice Glue.
- Step 6 - Diecut Shasta Daisy using White Soft Finish Cardstock for the petals. Use yellow/orange cardstock or create your own and diecut the center pieces. Shape and assemble the flowers using Susan's Garden Flower Making Set and Kid's Choice Glue. I created 3 flowers. Optional - add some Kid's Choice Glue to the center of flower and sprinkle Pollen and remove excess. Let dry.
- Step 6 - Adhere Shasta Daisy's and Baby's Breath to the card using Kid's Choice Glue.
- Step 7 - On a scrap piece of White Soft Finish Cardstock apply Distress Oxide Ink Squeezed Lemonade and Wild Honey using a mini blending tool. Diecut Words 2 - Thinking of you sentiment die Smile. Apply Versamark directly on sentiment diecut and sprinkle Clear Embossing Powder, remove excess. Heat set it with a heat tool. Repeat this step 2 more times.
- Step 8 - Diecut Stitched Fishtail Banners using White Soft Finish Cardstock. Trim until desired length and adhere to card using foam tape. Adhere sentiment on top of Stitched Fishtail Banner using Kid's Choice Glue.


I hope you enjoyed today's card focusing the new Susan's Garden dies. Be sure to go to the Elizabeth Craft Designs Blog to see what the rest of the team did. This card can be used for any occasion by changing the colors, sentiment and flowers. Below are the links to all products used. Thanks for stopping by and have a wonderful day!
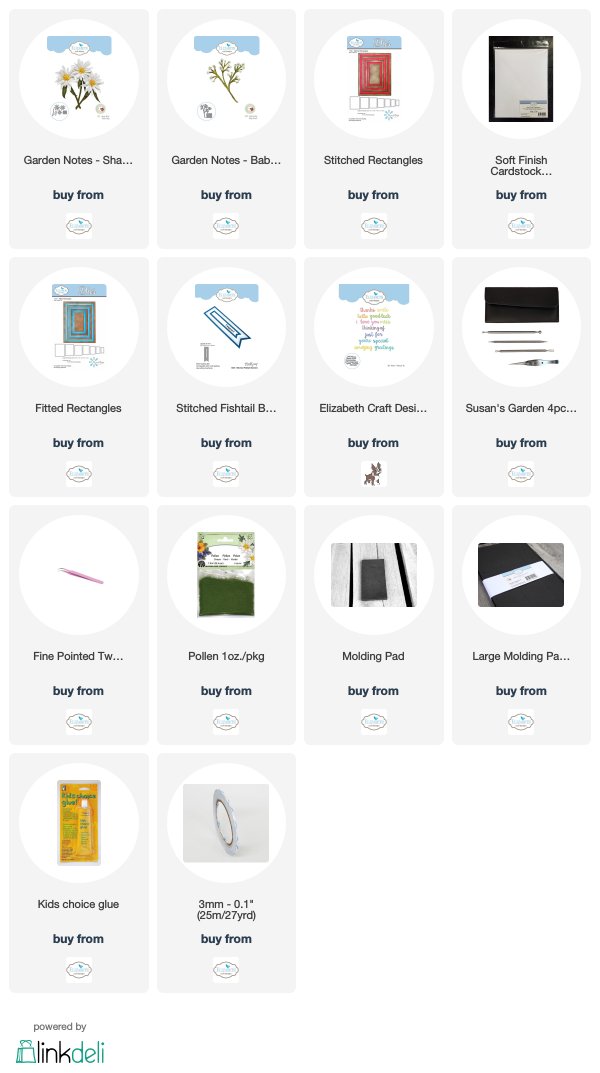
Elizabeth Craft Designs Products Used:
What an amazing card, Tina! Absolutely beautiful!
ReplyDeleteThis is such a stunning card! The perfect balance of colors and flowers. Love it!
ReplyDelete