Showing posts with label Altenew Inks. Show all posts

Saturday, August 3, 2024

Love This A2 Card

Hi everyone,

I have a card to share with you using the Everyday Elements from Elizabeth Craft Designs. I used a leftover panel I had used for ink blending from a previous card with the Layered Butterfly Dies, I also used Fancy Cut-Aways Dies and the Love & Roses Stamps. Below are the steps to create your own card.


Step 1 - Trim White Soft Finish Card Stock to 4 1/4” x 11”, score at 5 1/2” and fold in half for a horizontal top fold card. (A2)

Step 2 - Optional for some added sparkle splatter some Gilded Aqua Pigment using a small brush to the card front. Let Dry.

Step 3 - I had a left over panel I used as a stencil for an earlier card. To do this panel diecut Fancy Cut-Aways using White Soft Finish Card Stock. Apply ink using a Blender Brush in colours of the rainbow. Adhere to card front using Kids Choice Glue on an angle.

Step 4 - Diecut Layered Butterfly (leaf swirl) using Teal Card Stock. Adhere to card using Kid’s Choice Glue.

Step 5 - Stamp Love & Roses (butterfly image) using Memento Ink (for alcohol ink colouring). Colour using your favourite alcohol inks. I used Copics. Diecut Layered Butterfly (matching butterfly) and adhere to card using Kids Choice Glue.

Step 6 - Stamp Love & Roses (sentiment) directly to card front using Versafine Onyx Black Ink.

One key take away is when you are doing ink blending on a paper stencil. Never throw it out. It can always be used on another card. This card can be used for many occasions by simply changing the sentiment. Below are the links to the products used. Thank you for stopping by and Happy Crafting!

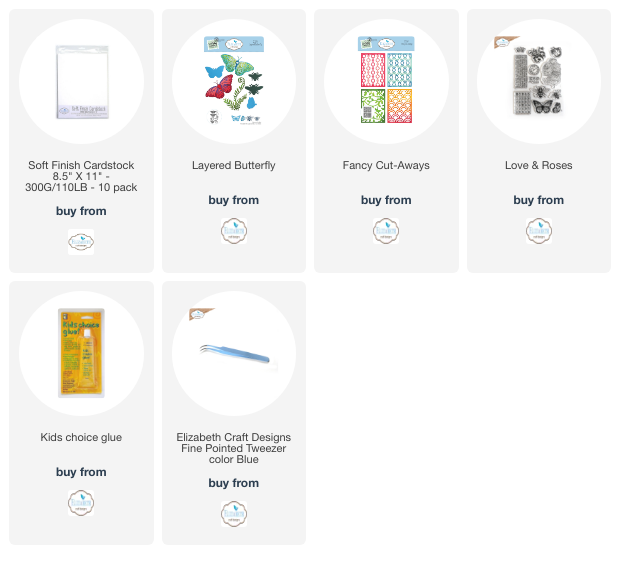
Products Used:
Saturday, June 20, 2020

Smile You Got This And A Fathers Day Card

Hi everyone,
Today I am so excited to share with you 2 cards I made using the new Brilliant Butterflies Stamp Set from My Favorite Things. This stamp set allows you to build your butterflies in any colours you want as each butterfly has 4 Stamps, upper wings, lower wings, detailed wings and body. The detailed wings off sets and creates the most beautiful effect. Below you will find the steps to create your own Smile You Got This Card along with a Father’s Day card. Yes you can make masculine cards with this stamp set.

Before we get started it’s time we have a Blog Giveaway. Since the theme is Butterflies the prize is this gorgeous Butterfly Backdrop Die. All you have to do is follow my social media using the Rafflecopter link below. The more you follow the better your chances. The giveaway is open now and will end June 30. Rafflecopter will randomly pick one lucky winner.


Card #1

Step 1 - Trim White Cardstock to 8 1/2” x 5 1/2”, score at 4 1/4” and fold in half for a vertical side fold card. (A2) Step 1 - Trim White Cardstock to 8 1/2” x 5 1/2”, score at 4 1/4” and fold in half for a vertical side fold card. (A2)

Step 2 - Trim White Cardstock to 5 1/2” x 4 1/4”. Stamp Brilliant Butterflies using Inks of your choice. Stamp darker colour for upper wings, lighter colour for lower wings, black for detailed wings and body. I used Altenew colours Chamomile, Marigold, Pinkalicious, Razzleberry, Turquoise, Starlight and Versafine Clair Nocturne Ink.

Step 3 - Diecut Rectangles Double Stitch to the panel created from Step 2. Adhere to card using Fun Foam and Nuvo Deluxe Adhesive.

Step 4 - Stamp Thanks And Encouragement Word Mix 1 sentiment using Versamark on Black Cardstock, sprinkle White Embossing Powder and heat set it with a heat tool. Make sure to prep the Cardstock with an Anti Static Powder before stamping to prevent the powder from getting in areas you don’t want. Trim the sentiment and adhere to card using Nuvo Deluxe Adhesive.

Step 5 - Diecut Smile sentiment 3 times. Stack each layer and adhere to card using Nuvo Deluxe Adhesive.

Step 6 - For added interest randomly adhere Exotic Onyx Pearls using an Embellishment Wand and Nuvo Deluxe Adhesive. The glue applies white but dries clear.

Card #2

Step 1 - Trim White Cardstock to 8 1/2” x 5 1/2”, score at 4 1/4” and fold in half for a vertical side fold card. (A2) Step 1 - Trim White Cardstock to 8 1/2” x 5 1/2”, score at 4 1/4” and fold in half for a vertical side fold card. (A2)

Step 2 - Trim White Cardstock to 5 1/2” x 4 1/4”. Stamp Dotted Fill-In using Versafine Clair Nocturne Ink. Adhere to card using Nuvo Deluxe Adhesive.

Step 3 - Trim White Cardstock to 5 1/2” x 4 1/4”. Stamp Brilliant Butterflies using Inks of your choice. Stamp darker colour for upper wings, lighter colour for lower wings, black for detailed wings and body. I used Altenew colours Sea Breeze, Tide Blue and Versafine Clair Nocturne Ink.

Step 4 - Stamp Beautiful Flowers sentiment using Versafine Clair Nocturne Ink to panel created in Step 3 (above the butterfly). Let dry and use an alcohol marker to fill in. I used Spectrum Noir Classique Marker (BT3 Waterfall).

Step 5 - Stamp Happy Happy Happy sentiment using Versafine Clair Nocturne Ink to the panel created in Step 3 (below butterfly).

Step 6 - Diecut Rectangles Double Stitch to the panel created from Step 3. Adhere to card using Fun Foam and Nuvo Deluxe Adhesive.

Step 7 - For added interest randomly adhere Exotic Onyx Pearls using an Embellishment Wand and Nuvo Deluxe Adhesive. The glue applies white but dries clear.


These cards can be used for many occasions by changing the colours and/or sentiments. Below is a link to all the products used. Have a wonderful day and Happy Crafting!

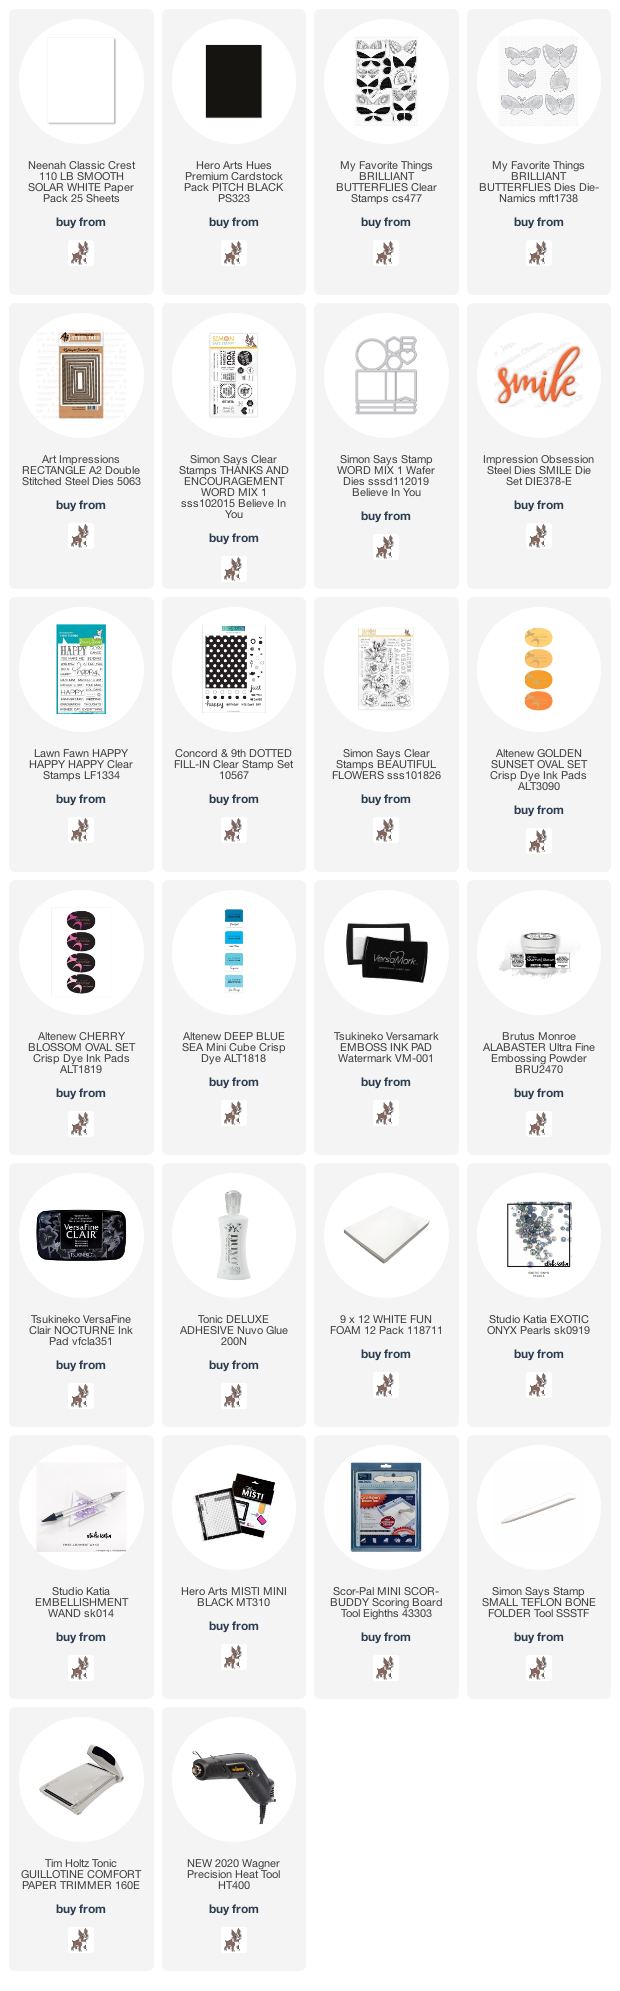
Products Used:

Sunday, January 5, 2020

Foliage Holiday Card

Hi Everyone,
Happy New Year! Before we get started I want to wish you all the best for a healthy and prosperous year ahead. Every year we start the new year with resolutions. Mine this year is simple. When I am not posting a YouTube video I will show more process photos in my blog post. I tend to forget to photograph the steps especially if there is a technique involved.

I still have a few holiday cards that I did not have a chance to share. Today I am sharing one of them. Below you will find the steps to create your own card.


Step 1 - Trim White Cardstock to 4 1/4” x 11”, score at 5 1/2” and fold in half for a horizontal top fold card. (A2)

Step 2 - Stamp Holly Berry Turnabout on White Cardstock trimmed to 5 1/2” x 4 1/4” using Altenew Tropical Forest Ink set and Altenew Tea Party Ink set for the Holly (Using all the colours, one colour each turn).

Step 3 - Diecut Wonky Rectangles using Leaf Green Cardstock.

Step 4 - Diecut Double Stitched Rectangles using White Cardstock.

Step 5 - Diecut Christmas Foliage on various shades of Green Cardstock. (If you don’t have several shades of green cardstock them you can ink some green colours on White Cardstock and then diecut.) Add Nuvo Crystal Drops Autumn Red to the berries. Let dry.

Step 6 - Layer Step 2, 3, 4, and 5 as you would put it on your card. Place a piece of Press N’ Seal on top of the Foliage. This will keep everything as you want it and will make adhering to the card much easier. See photos below. 


Step 7 - Diecut Double Stitched Rectangles to the panel created on Step 2. Adhere to card. Adhere the green panel created from Step 3.

Step 8 - Stamp Holiday Greetings Mix 1 sentiment using Versafine Clair Nocturne Ink using the panel created from Step 4. Adhere a little wonky using Nuvo Deluxe Adhesive.

Step 9 - Apply Nuvo Deluxe Adhesive to the backside of the Foliage. Place the Press ‘N Seal with the foliage on top of the card and remove the Press ‘N Seal. You now have the foliage placed exactly as you originally intended.


Step 10 - Optional - Apply ink to an acrylic block and mix with water. Splash the ink using a water brush. Spray White Iridescent Shimmer to the entire card front. Let Dry.


This card can be used for other occasions by removing the berry step in the Holly Berry Turnabout stamps and changing the Christmas Foliage die and sentiment to something else. Below is a link to all the products used. Thank you for stopping by and have a wonderful day.

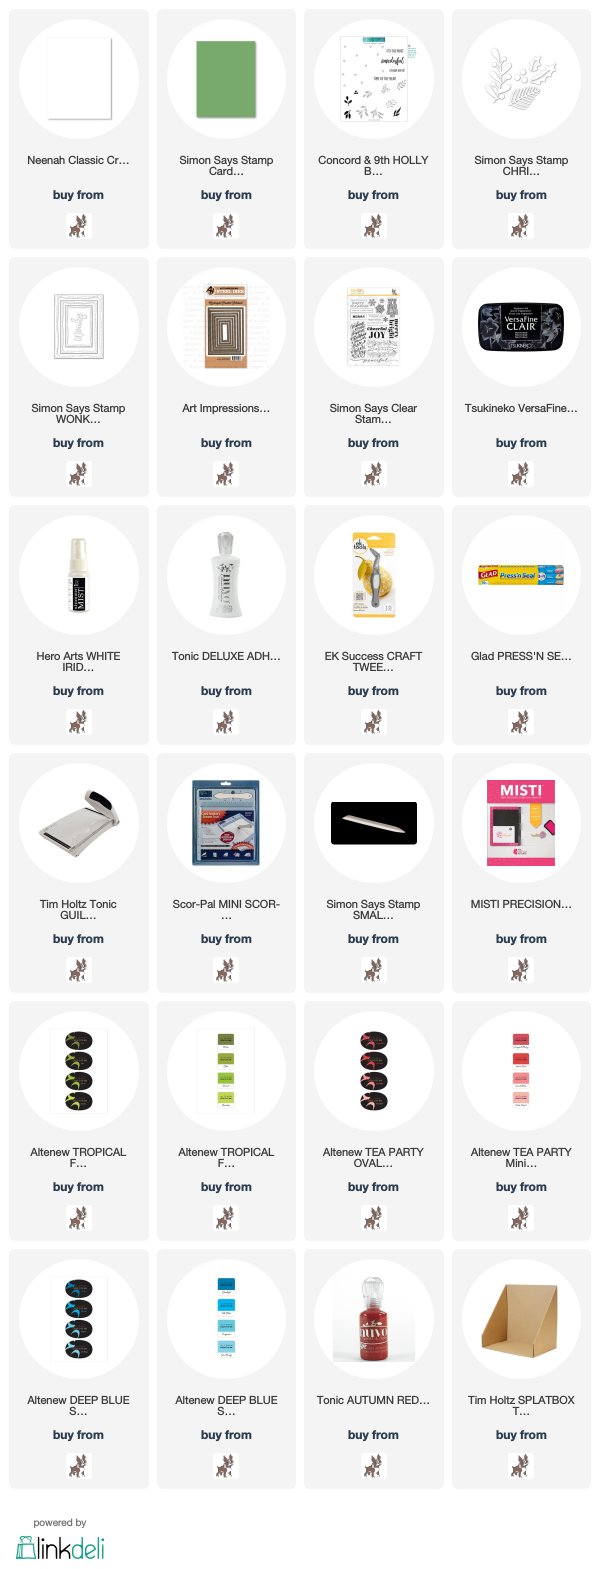
Products Used: