Today I am so excited to share with you 2 cards I made using the new Brilliant Butterflies Stamp Set from My Favorite Things. This stamp set allows you to build your butterflies in any colours you want as each butterfly has 4 Stamps, upper wings, lower wings, detailed wings and body. The detailed wings off sets and creates the most beautiful effect. Below you will find the steps to create your own Smile You Got This Card along with a Father’s Day card. Yes you can make masculine cards with this stamp set.
Before we get started it’s time we have a Blog Giveaway. Since the theme is Butterflies the prize is this gorgeous Butterfly Backdrop Die. All you have to do is follow my social media using the Rafflecopter link below. The more you follow the better your chances. The giveaway is open now and will end June 30. Rafflecopter will randomly pick one lucky winner.

Before we get started it’s time we have a Blog Giveaway. Since the theme is Butterflies the prize is this gorgeous Butterfly Backdrop Die. All you have to do is follow my social media using the Rafflecopter link below. The more you follow the better your chances. The giveaway is open now and will end June 30. Rafflecopter will randomly pick one lucky winner.

Card #1

Step 1 - Trim White Cardstock to 8 1/2” x 5 1/2”, score at 4 1/4” and fold in half for a vertical side fold card. (A2) Step 1 - Trim White Cardstock to 8 1/2” x 5 1/2”, score at 4 1/4” and fold in half for a vertical side fold card. (A2)
Step 2 - Trim White Cardstock to 5 1/2” x 4 1/4”. Stamp Brilliant Butterflies using Inks of your choice. Stamp darker colour for upper wings, lighter colour for lower wings, black for detailed wings and body. I used Altenew colours Chamomile, Marigold, Pinkalicious, Razzleberry, Turquoise, Starlight and Versafine Clair Nocturne Ink.
Step 3 - Diecut Rectangles Double Stitch to the panel created from Step 2. Adhere to card using Fun Foam and Nuvo Deluxe Adhesive.
Step 4 - Stamp Thanks And Encouragement Word Mix 1 sentiment using Versamark on Black Cardstock, sprinkle White Embossing Powder and heat set it with a heat tool. Make sure to prep the Cardstock with an Anti Static Powder before stamping to prevent the powder from getting in areas you don’t want. Trim the sentiment and adhere to card using Nuvo Deluxe Adhesive.
Step 5 - Diecut Smile sentiment 3 times. Stack each layer and adhere to card using Nuvo Deluxe Adhesive.
Step 6 - For added interest randomly adhere Exotic Onyx Pearls using an Embellishment Wand and Nuvo Deluxe Adhesive. The glue applies white but dries clear.
Card #2

Step 1 - Trim White Cardstock to 8 1/2” x 5 1/2”, score at 4 1/4” and fold in half for a vertical side fold card. (A2) Step 1 - Trim White Cardstock to 8 1/2” x 5 1/2”, score at 4 1/4” and fold in half for a vertical side fold card. (A2)
Step 2 - Trim White Cardstock to 5 1/2” x 4 1/4”. Stamp Dotted Fill-In using Versafine Clair Nocturne Ink. Adhere to card using Nuvo Deluxe Adhesive.
Step 3 - Trim White Cardstock to 5 1/2” x 4 1/4”. Stamp Brilliant Butterflies using Inks of your choice. Stamp darker colour for upper wings, lighter colour for lower wings, black for detailed wings and body. I used Altenew colours Sea Breeze, Tide Blue and Versafine Clair Nocturne Ink.
Step 4 - Stamp Beautiful Flowers sentiment using Versafine Clair Nocturne Ink to panel created in Step 3 (above the butterfly). Let dry and use an alcohol marker to fill in. I used Spectrum Noir Classique Marker (BT3 Waterfall).
Step 5 - Stamp Happy Happy Happy sentiment using Versafine Clair Nocturne Ink to the panel created in Step 3 (below butterfly).
Step 6 - Diecut Rectangles Double Stitch to the panel created from Step 3. Adhere to card using Fun Foam and Nuvo Deluxe Adhesive.
Step 7 - For added interest randomly adhere Exotic Onyx Pearls using an Embellishment Wand and Nuvo Deluxe Adhesive. The glue applies white but dries clear.


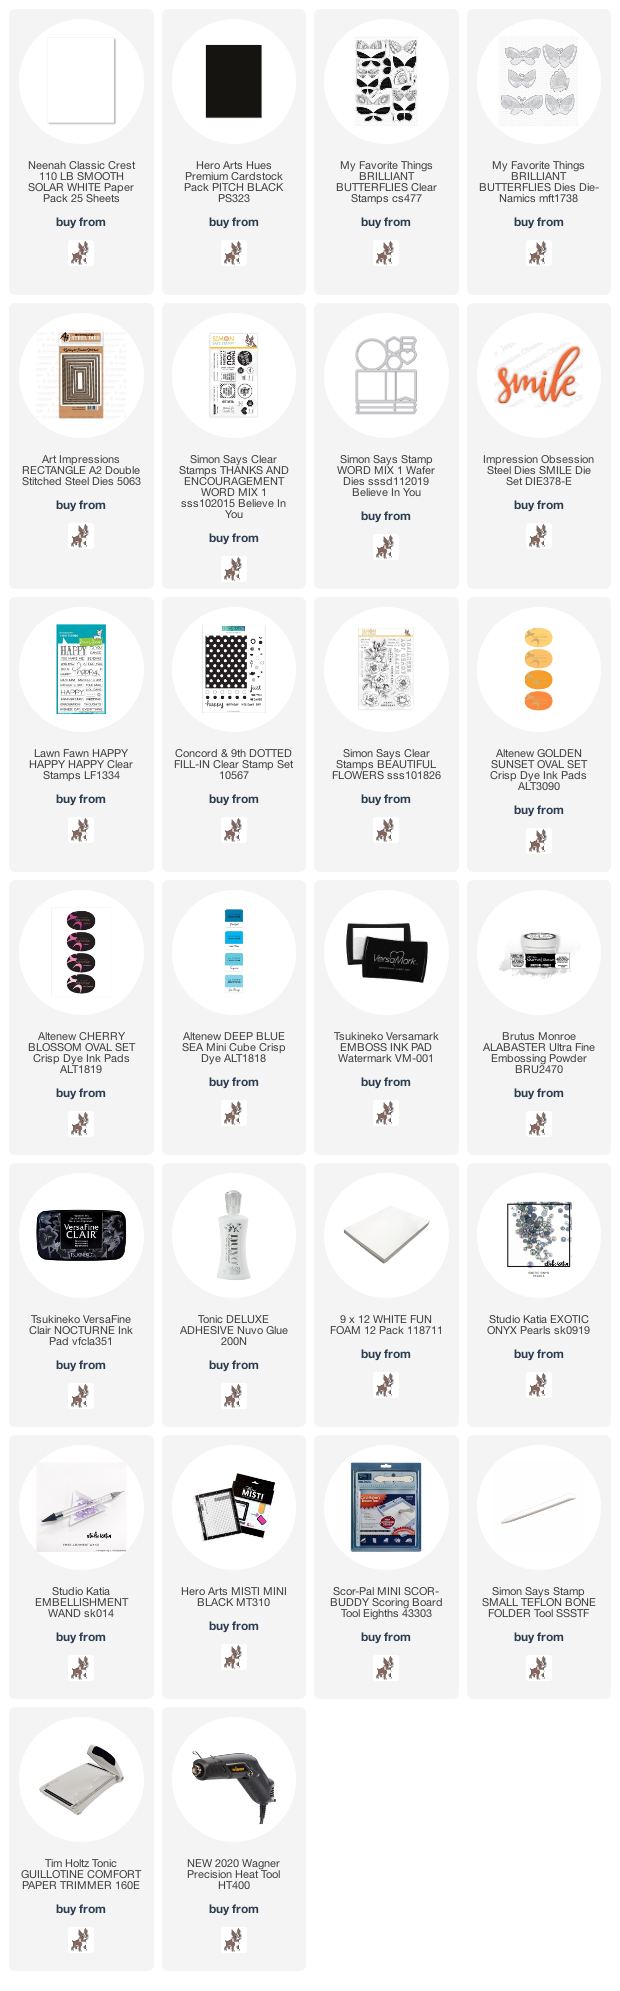
These cards can be used for many occasions by changing the colours and/or sentiments. Below is a link to all the products used. Have a wonderful day and Happy Crafting!
Products Used: