
A few weeks ago I had a Blog Giveaway but it’s been super crazy around here so before we get started I think it’s time I announce the winner. Congratulations Deb your name has been selected!!! Please email me your address so I can send the dies to you.
I will be having another Blog Giveaway and the details will be posted on Friday April 6. It's in celebration of my Blog Makeover. I realized my Blog had the same design since 2016 so it was time to change it. Come back on Friday for more details.
Now let's get started. I used the Elizabeth Craft Designs Spring Basket for my card. Because it has patches of grass and flowers this dieset can actually be used for any occasion, however, I chose to showcase it with Easter. Below you will find the steps to replicate this card.

- Step 1 - Cut White Cardstock to 8 1/2" x 5 1/2". Score and fold in half to form a vertical side-fold card base. Finished size: 4 1/4" x 5 1/2" (A2)
- Step 2 - Trim a piece of Soft Finish Cardstock to 4" x 5 1/4". Ink directly on the cardstock using Distress Inks. Apply the ink pads by sliding it up and down. See photo below. I used Vintage Photo and Victorian Velvet.

- Step 3 - Diecut Spring Basket using the Distress Ink Background. Using a paintbrush add Distress Inks sprayed with water and fill in the areas of the basket. Adhere the rest of the background to the card front panel using Clear Double Sided Adhesive Tape.
- Step 4 - Trim Patterned Paper from Moda Scrap Christmas Holidays to 3 3\4" x 5" and adhere to the card front panel using Clear Double Sided Adhesive Tape.
- Step 5 - Stamp sentiment (I used Winter Sentiment for the word Happy & Spring Sentiment for the word Easter) using an embossing ink pad. Sprinkle Copper Embossing Powder and heat set with a heat tool.
- Step 6 - Using Soft Finish Cardstock ink Distress Oxide Cracked Pistachio directly using an ink applicator. Diecut Adventure Edges (Grass) 2 times. Adhere bottom piece using foam tape and the top piece with Clear Double Sided Adhesive Tape.
- Step 7 - Adhere basket to card using foam tape to add some dimension.
- Step 8 - Trim a piece of Soft Finish Cardstock to 4" x 5 1/4". Ink directly on the cardstock using Distress Oxide Inks. Apply with the ink pads by sliding it up and down. See photo below. I used Salty Ocean, Faded Jeans and Broken China. Using a waterbrush splash some Black Acrylic Paint mixed with water onto the background. See photo below.

- Step 9 - Diecut Spring Basket (small and big eggs) in various sections. Adhere inside the basket using foam tape for some and Clear Double Sided Adhesive for the rest.
- Step 10 - On a scrap piece of Soft Finish Cardstock apply Distress Oxide Ink directly to the cardstock using an Ink Applicator. Using Spice Marmalade and Wild Honey for the flowers and center & Peeled Paint for the grass.
- Step 11 - Diecut Spring Basket, the flowers on the Wild Honey, the center flower on the Spiced Marmalade, the grass on the Peeled Paint. Adhere the center to the flowers using Kids Choice Glue. Adhere both the flowers and the grass to the card using foam tape for some and Clear Double Sided Adhesive for the balance.
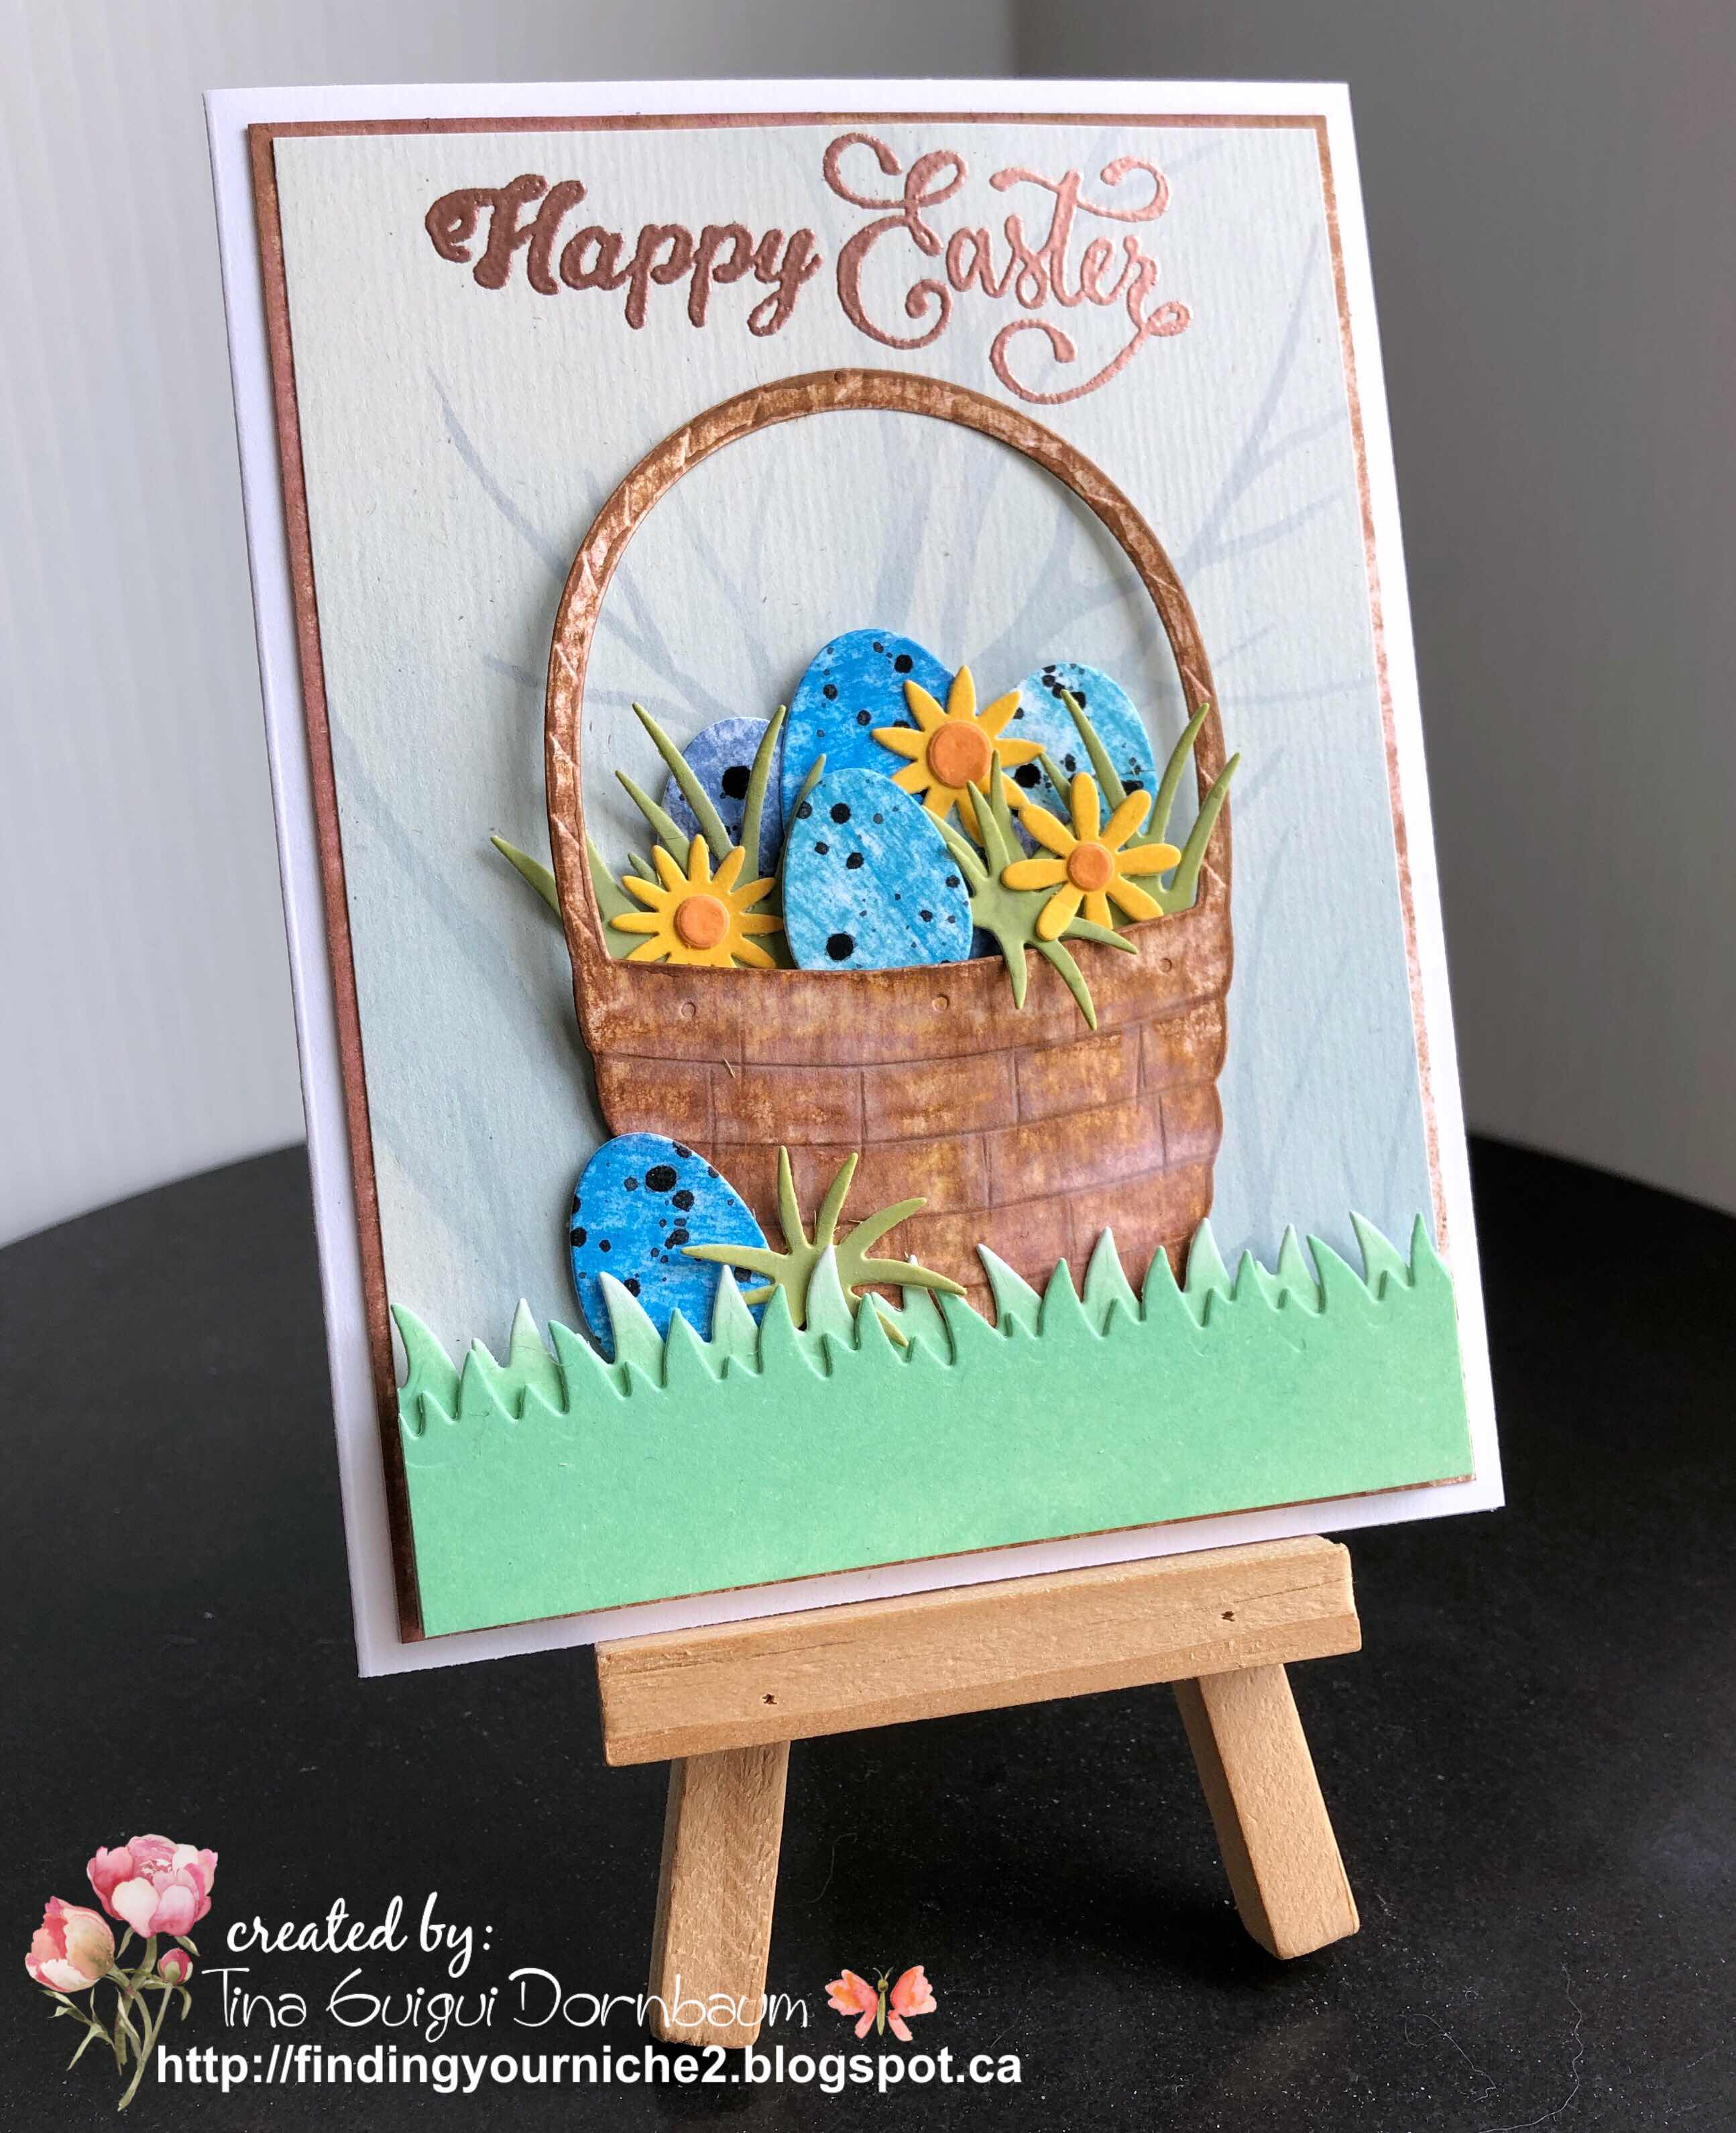


This card can be used for any occasion by removing the eggs and changing the sentiment. It can be used for a birthday, baby shower, anniversary, etc. Below is a link to all the Elizabeth Craft Designs Product Used for your easy convenience. Thanks for stopping by and have a wonderful Easter.
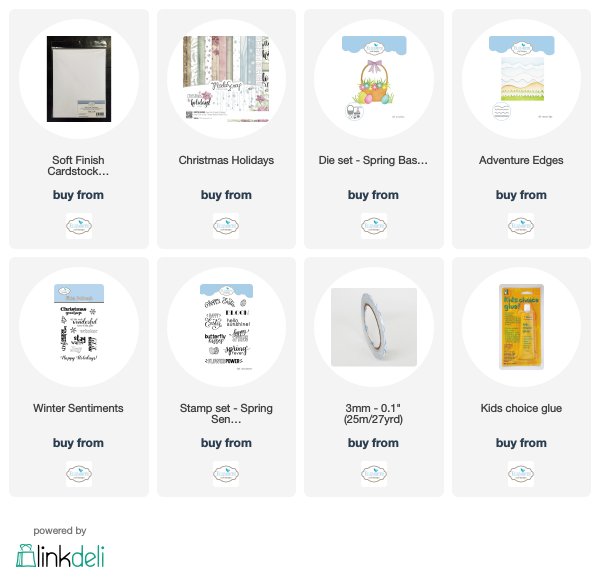
Elizabeth Craft Designs Product Used:
Wow your card is gorgeous! So much work went into this. Love the easter eggs and all the details!
ReplyDelete